Types of Tile Clips and Wedges
Tile clips and wedges are indispensable tools for tiling both floors and walls. They not only ensure that tiles are quickly and precisely leveled but also provide a uniform gap between them. With this set of tools, tiles can effortlessly be kept on the same plane, guaranteeing a flawless finish.
During the tiling process, just position the tile clips at the edges of adjacent tiles and then secure them using tile wedges. With the help of a tile plier, firmly connect the clips and wedges to ensure a neat and consistent tile gap, elevating the overall tiling result to the next level.
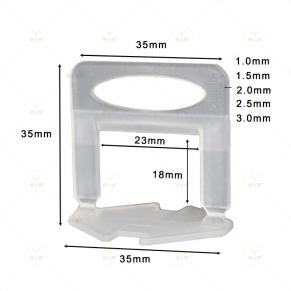
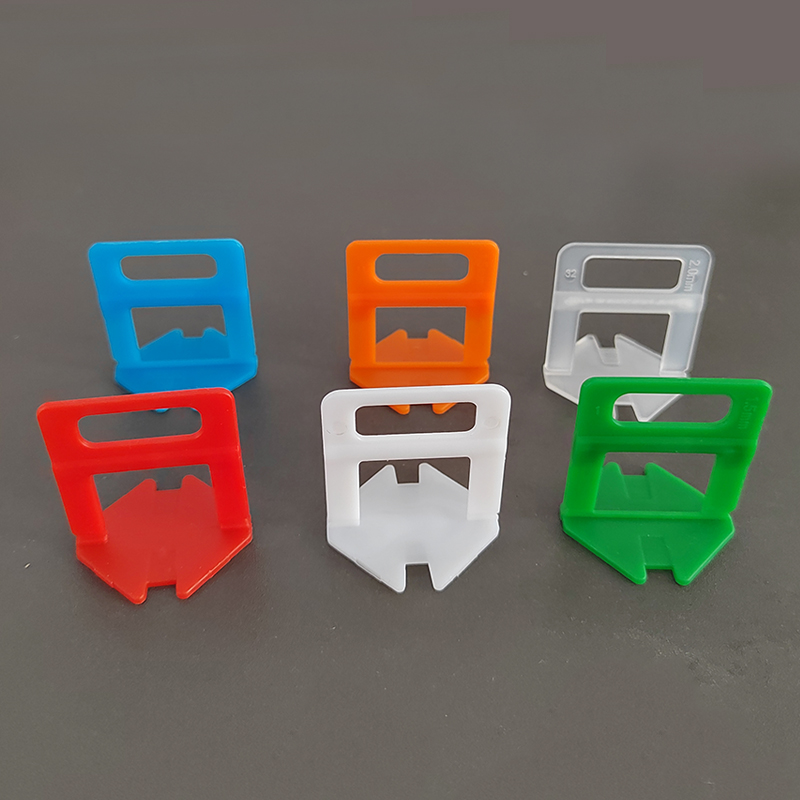
Economical Model C01 Tile Clips
Perfect for high-volume projects. Suitable for 3-12mm tile thickness.

Professional Model C02 Tile Clips
Enhanced tensile strength to prevent premature breakage. Suitable for 3-12mm tile thickness.
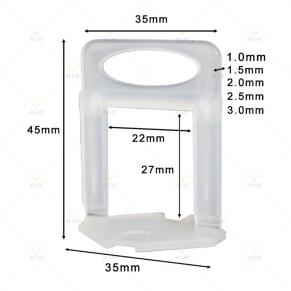
Higher Model C03 Tile Clips
Specially designed for thick outdoor pavers. Suitable for 13-22mm tile thickness.
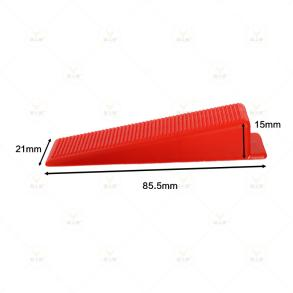
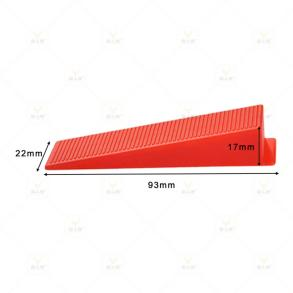
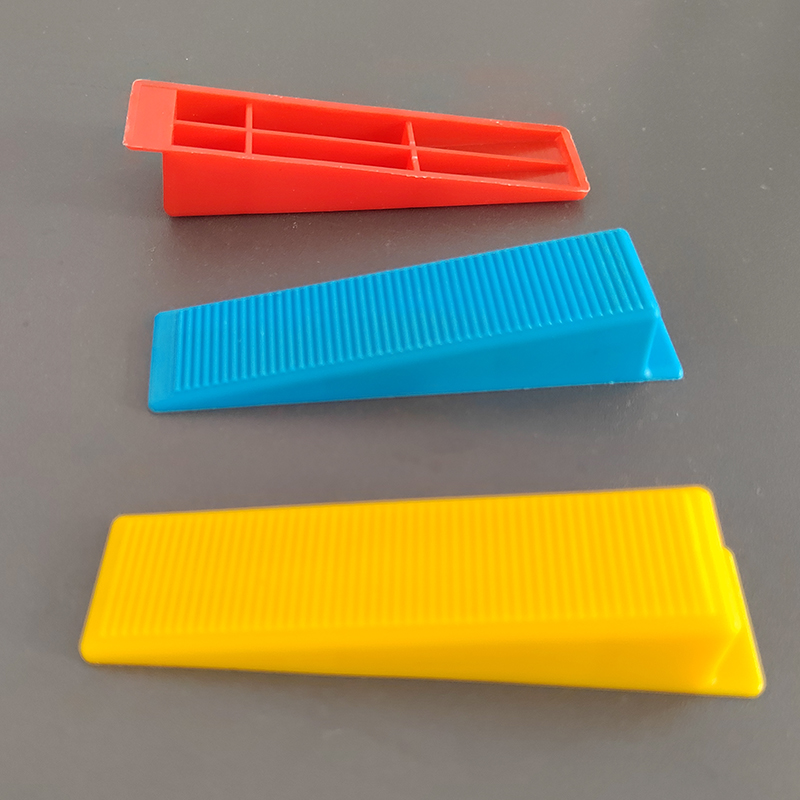
Professional Model W02 Tile Wedges
Heavy-duty wedges engineered for maximum locking pressure and longevity.
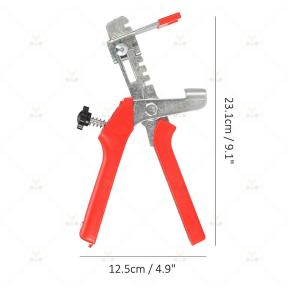
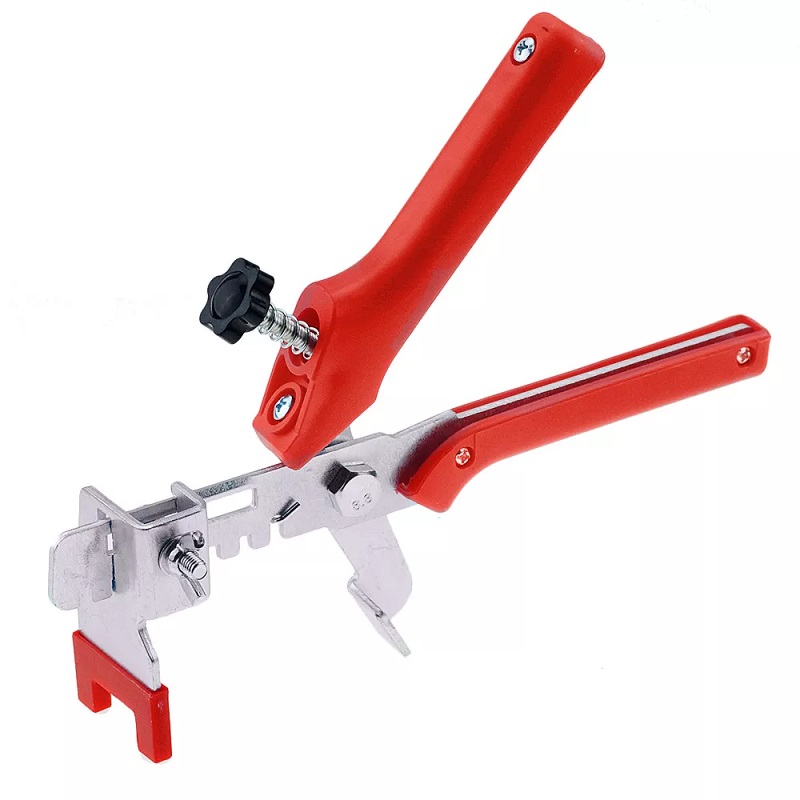
Ergonomic Tile Pliers
Adjustable tension pliers to drive wedges into clips perfectly without finger fatigue.
Installation Method
Follow these 7 simple steps to achieve a perfectly level and lippage-free tile surface.
Apply mortar, cement, or adhesive to the back of the tiles.
Lay the first tile securely into position.
Place the leveling clips under the edges of the laid tiles.
Insert the wedges securely into the clips.
Use our specialized tile pliers to clamp the wedges and clips to the ideal level.
Wait 12-24 hours until the mortar is completely cured, then use a kick or rubber mallet to strike and remove the upper part of the clips.
Sweep the surface to clear debris and save any reusable wedges for your next project.
Video Guides & Factory Tours
Popular Individual Models

Frequently Asked Questions
Find quick answers to common questions about our products, installations, and manufacturing services.
Still have questions?
Can't find the exact answer you're looking for? Our engineering team is ready to provide custom solutions and accurate quotes.
Or reach us directly
Secure Your Factory Direct Supply
Skip the trading companies. Partner directly with Taurus Tech for massive production capacity, customized retail packaging, and highly competitive pricing on all tile leveling systems.